
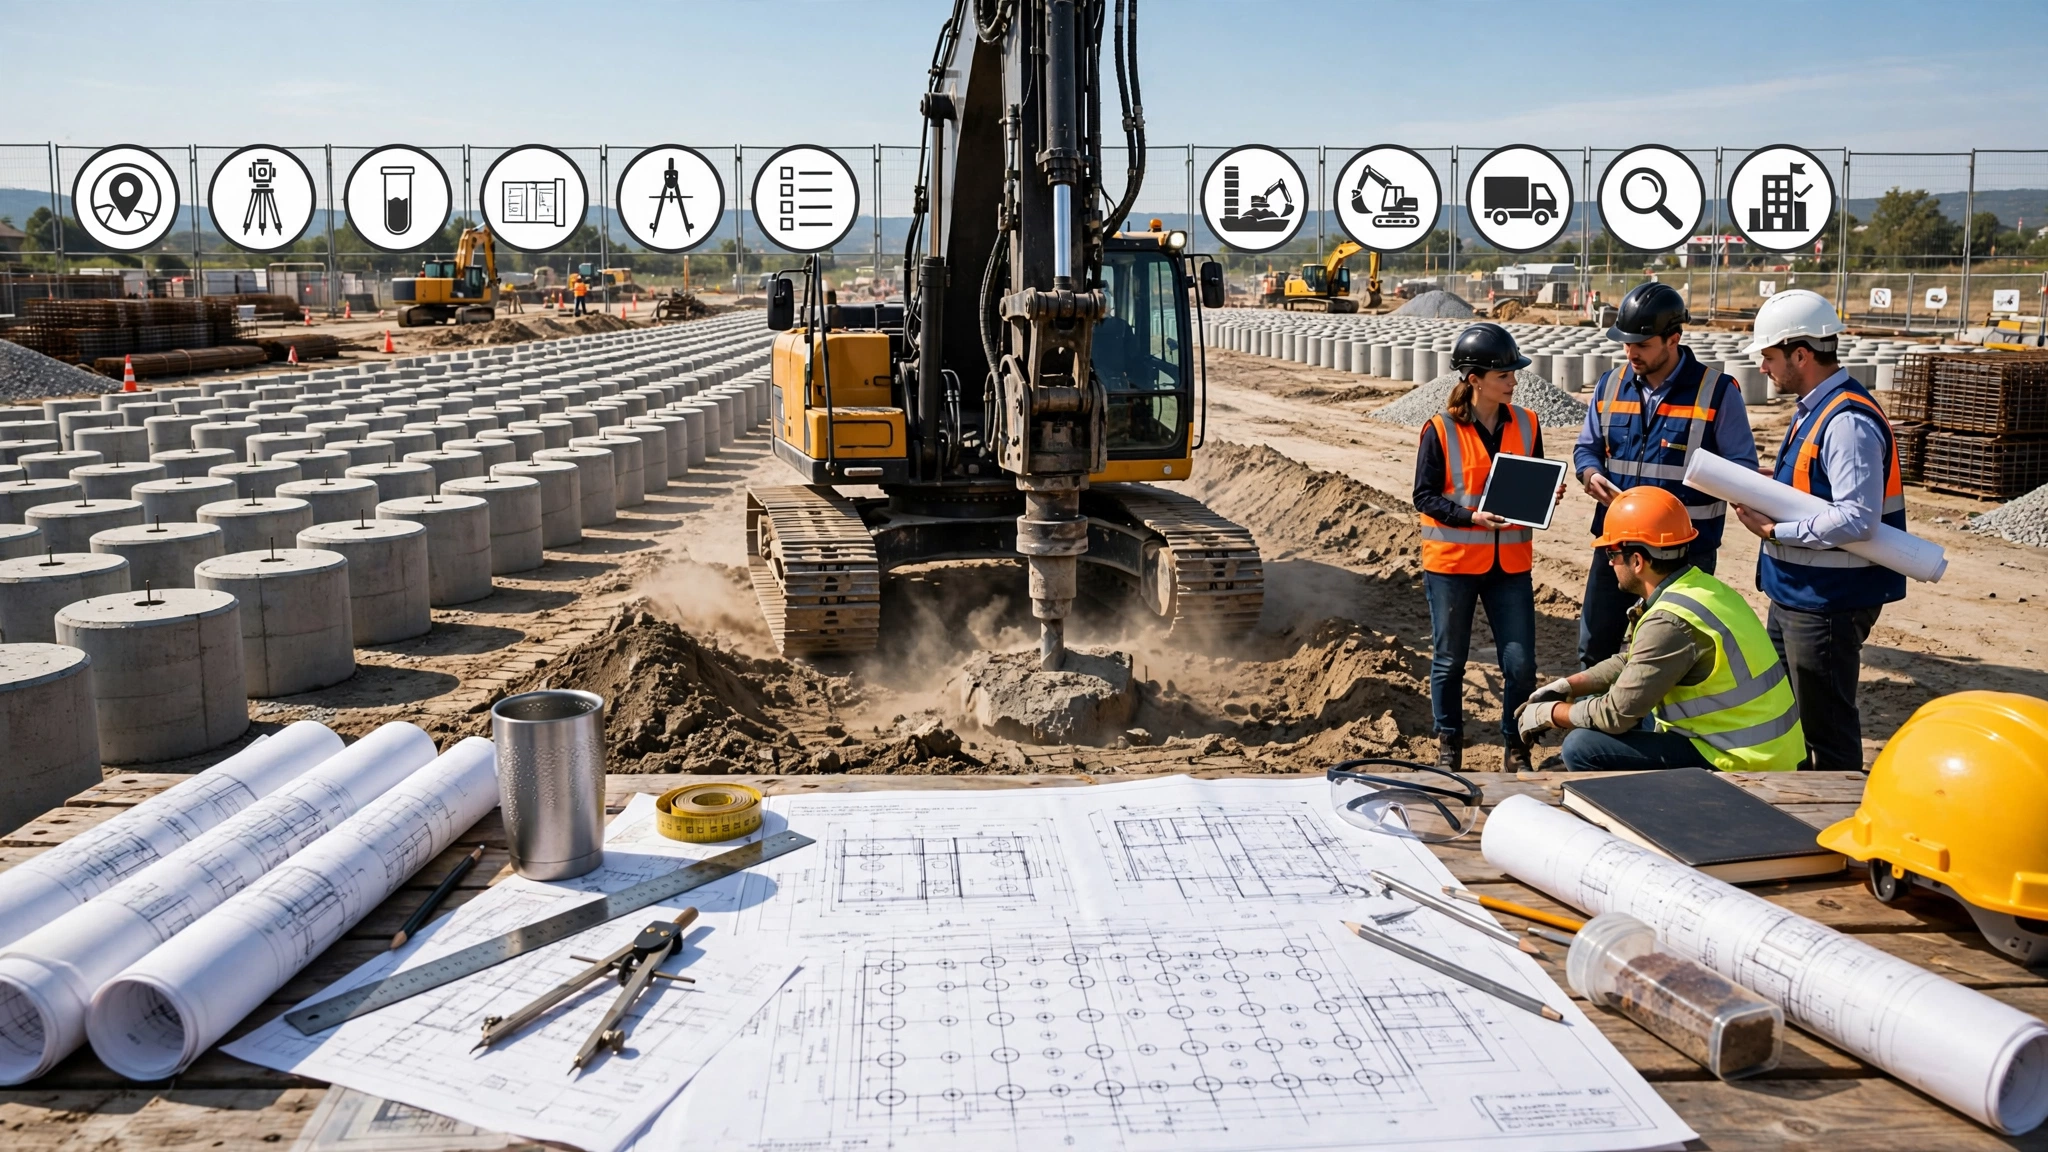
The Ultimate Pile Project Guide: 10 Steps from Planning to Completion

Table of Contents
- 1. Introduction
- 2. Before You Even Touch Equipment
- 3. Choosing Your Equipment
- 4. Setting Up Your Site
- 5. Preparing Your Piles
- 6. The Driving Process
- 7. Common Problems and How to Handle Them
- 8. Quality Control and Documentation
- 9. Safety on the Job Site
- 10. Final Inspection and Sign-Off
- 11. Lessons from the Field
- 12. Wrapping It Up
- 13. Our Business Partners
1. Introduction
So you are about to start a pile driving job. Maybe it is your first one. Maybe you have done a dozen. Either way, you know there is a lot that can go wrong between the planning stage and the final pile. That is exactly why you need an Ultimate Pile Project Guide.
I have been around pile jobs long enough to see the good, the bad, and the ugly. Some projects run smooth as glass. Others turn into nightmares before the first week is over. The difference usually comes down to one thing. Planning.
This Ultimate Pile Project Guide walks you through everything that goes into a successful pile job. From the early planning stages all the way to final inspection. No fluff. No theory. Just practical advice from someone who has been there.
Consider this your roadmap. Follow the Ultimate Pile Project Guide and you will avoid most of the common pitfalls that wreck other jobs. Ignore it and you are rolling the dice with your timeline, your budget, and your reputation.
Let us get started.
2. Before You Even Touch Equipment
The success of any pile job starts long before the first piece of equipment arrives on site. As outlined in every Ultimate Pile Project Guide, it starts with planning. Good planning. Thorough planning.
I cannot tell you how many jobs I have seen go sideways because someone skipped the early steps. They wanted to save time. They wanted to save money. They ended up costing themselves both.
What You Need to Do First
Start by understanding what you are building on. Soil conditions vary wildly from one site to the next. You might have firm ground in one corner and soft clay in another. An essential part of the Ultimate Pile Project Guide is knowing exactly what is down there before you drive a single pile.
Hire a geotechnical engineer. Drill test holes. Send samples to a lab. Get a full report on the soil composition, water table depth, and bearing capacity.
I know this costs money. I know it takes time. But it is nothing compared to the cost of fixing a foundation that fails because you did not know what you were building on.
Check Local Regulations
Every city has rules about pile driving. Noise restrictions. Vibration limits. Permitting requirements. Some areas only allow impact driving during certain hours. Others ban it altogether. Reading through an Ultimate Pile Project Guide reminds you to handle these early.
Call the local building department. Ask about restrictions. Get your permits in order before you start. A stop-work order in the middle of your job is expensive and embarrassing.
Plan Your Timeline
How many piles do you need to drive? How many can you realistically do in a day? What happens if it rains? What happens if equipment breaks?
Build buffer time into your schedule. Assume something will go wrong. Add extra days for weather, equipment issues, and other delays. A realistic schedule is better than an optimistic one that gets broken.
3. Choosing Your Equipment
This is where many jobs start going wrong. People pick the wrong equipment and then spend weeks trying to make it work. An Ultimate Pile Project Guide emphasizes getting this right.
Understanding Your Options
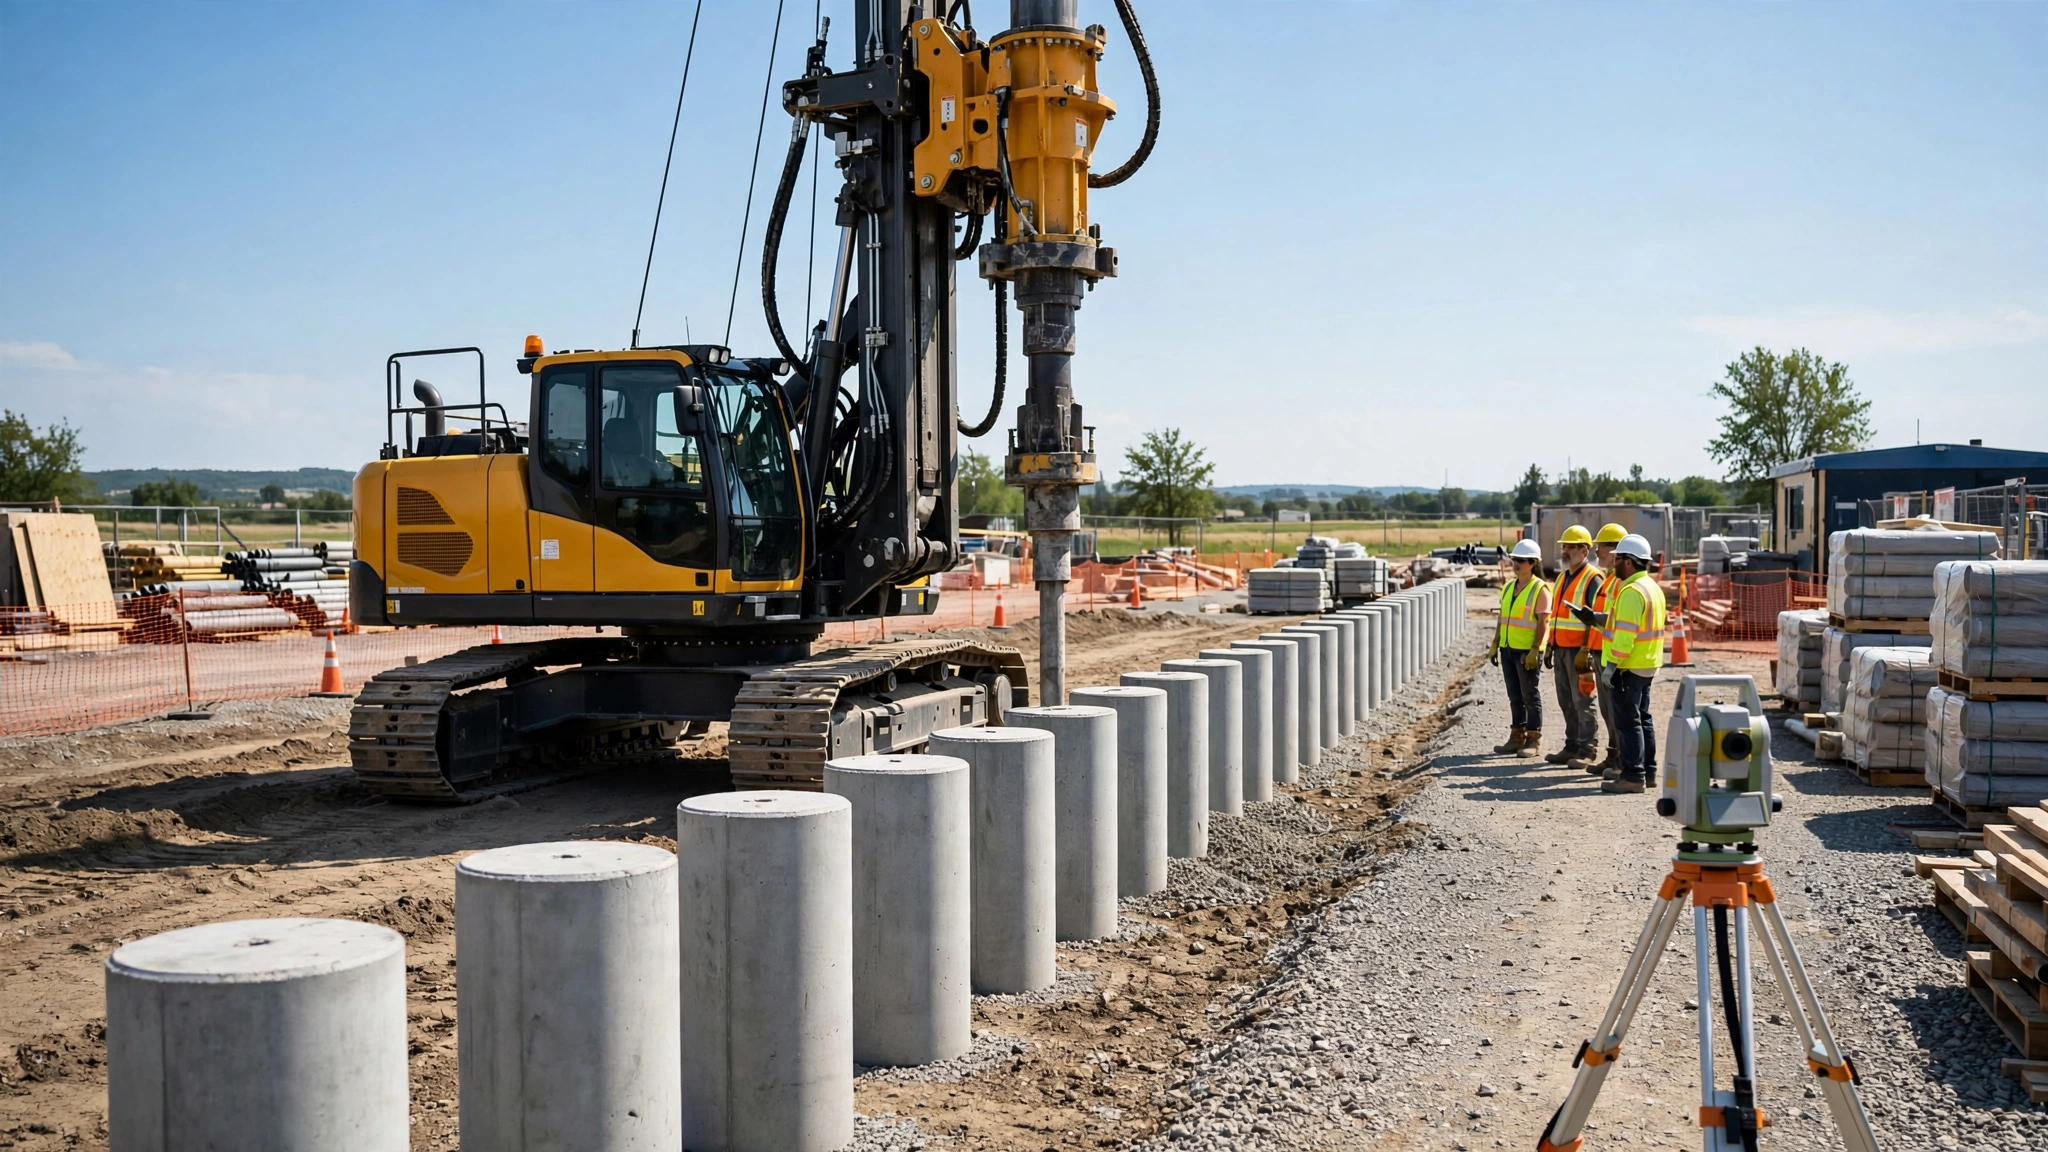
You have three main choices for a pile job. Impact hammers. Vibratory hammers. Rotary rigs. Each one has its strengths and weaknesses.
Impact hammers are the classic choice. They pound the pile into the ground with repeated blows. They are fast, powerful, and proven. But they are also loud and shake the ground.
Vibratory hammers shake the pile into the ground. They work great in sand and gravel. They are quieter than impact hammers. But they struggle in clay and hard soil.
Rotary rigs drill holes and fill them with concrete. They are quiet and cause almost no vibration. But they are slower and more expensive than other methods.
Matching Equipment to Your Job
The right choice depends on your soil, your piles, and your site. Sand and gravel? Vibratory works well. Clay and silt? You need impact or rotary. Rock? Only impact or rotary will get through it.
Match your hammer energy to your pile material. Concrete piles cannot handle the same force as steel piles. If you crack a pile, your job stops while you order replacements.
Do not be afraid to rent specialized equipment for a specific job. As noted in the Ultimate Pile Project Guide, it costs money upfront but saves you money in the long run.
4. Setting Up Your Site
Once your equipment arrives, you need to set up properly. This is where many jobs start getting sloppy. A proper Ultimate Pile Project Guide will keep you on track.
Positioning Your Rig
Your crane or rig needs a stable base. Soft ground can cause the machine to settle and throw off your alignment. You might need to lay down steel plates or timber mats to distribute the weight.
Position your rig so you can reach every pile location without constant repositioning. Moving the rig takes time. Efficient layout saves hours over the course of a job.
Checking Alignment
This is critical and often overlooked. Your leads need to be perfectly plumb. A tiny angle at the top becomes a big shift at the bottom. As stated in any reliable Ultimate Pile Project Guide, accuracy is key.
Use modern tools to check alignment. Laser levels and digital inclinometers are cheap and accurate. Check alignment before every pile. Recheck it throughout the day.
Marking Pile Locations
Mark every pile location clearly before you start driving. Double-check the measurements. A misplaced pile can ruin an entire foundation.
Use stakes, paint, or whatever method works for your site. Make sure your crew knows exactly where each pile goes.
5. Preparing Your Piles
Piles do not always arrive in perfect condition. You need to inspect every one before you drive it. A key rule of the Ultimate Pile Project Guide is quality checking.
Inspecting for Defects
Check concrete piles for cracks. Hairline fractures can widen under impact. If you see any cracks, do not use that pile. Send it back.
Check steel piles for rust or damage. Surface rust is usually fine. Deep pitting or bent sections are not. Do not compromise on quality.
Marking Your Piles
Mark each pile at regular intervals. This makes it easy to measure blow counts and set. You need to know exactly how far the pile is moving with each blow.
Some crews paint marks every foot. Others use tape or chalk. Whatever method you choose, make sure the marks are visible and consistent.
Handling and Storage
Keep your piles stored properly before driving. Concrete piles should be supported along their length, not just at the ends. Steel piles should be stacked on timbers to keep them off the ground.
Damaged piles are expensive. Take care of them and they will take care of your job.
6. The Driving Process
This is where the real work happens. Everything up to this point has been preparation. Now you actually drive piles, the core subject of the Ultimate Pile Project Guide.
Starting the Blows
Start with low energy. Get the pile seated properly before you increase power. A pile that starts crooked will stay crooked.
Watch the pile closely during the first few blows. Does it go straight? Does it drift? If something looks wrong, stop immediately and figure out what is happening.
Monitoring Blow Count
The blow count is your most important indicator. It tells you what is happening underground. Rising blow count means the pile is hitting denser soil. That is what you want.
Record the blow count for every foot of driving. Look for patterns. If the blow count jumps around erratically, something is wrong. Stop and investigate.
Watching the Set
Set is how far the pile moves with each blow near the end. When the set drops to your target level, the pile has reached bearing. Stop driving.
Do not keep pounding after the pile has reached bearing. Overdriving stresses the pile and can cause cracking. It also wastes time and energy. This is a vital lesson from the Ultimate Pile Project Guide.
7. Common Problems and How to Handle Them
Even with perfect planning, things go wrong on pile jobs. Here are the most common problems and how to handle them, straight from the Ultimate Pile Project Guide.
Pile Drifting Off Course
If your pile starts drifting, check your alignment. The leads might have shifted. The helmet might not be centered on the pile head.
If your equipment is fine, the problem is underground. You might have hit a boulder or a hard layer. You might need to pre-drill or switch to a different pile type.
Erratic Blow Counts
An erratic blow count means inconsistent soil conditions. You might be hitting soft pockets, hard layers, or obstructions.
Stop and investigate. Drill test holes near the problem spot. Figure out what is down there before you continue.
Cracked Piles
If a pile cracks, your hammer energy is too high. Reduce the power. Check your cushion. If it is worn, replace it.
Inspect every pile before you drive it. If you see cracks, do not use that pile. Send it back.
Hammer Problems
A broken hammer stops your job cold. Keep spare parts on site. Perform regular maintenance. Listen to your equipment. If something sounds wrong, investigate immediately. That is standard practice in the Ultimate Pile Project Guide.
8. Quality Control and Documentation
Nobody likes paperwork. But good documentation saves your job when things go wrong.
Recording Blow Counts
Record blow counts for every foot of every pile. This data proves you reached bearing capacity. It also helps you spot problems early.
Keep your records organized. Use a standard format so everyone on your crew uses the same system.
Measuring Set
Measure the set accurately. Use a tape measure or a measuring rod. Do not guess. Accurate measurements are essential for proving bearing capacity.
Load Testing
Sometimes you need to run load tests to confirm bearing capacity. This is especially important on critical structures or questionable soil. The Ultimate Pile Project Guide always suggests planning for this.
Plan for load testing in your schedule. It takes time but gives you definitive proof of foundation quality.
9. Safety on the Job Site
Pile driving is dangerous work. Follow safety rules religiously, a major point in the Ultimate Pile Project Guide.
Personal Protective Equipment
Everyone on site needs hard hats, steel-toe boots, ear protection, and high-vis vests. No exceptions. This is not optional.
Exclusion Zones
Keep people out of the swing radius. Mark exclusion zones clearly. Use spotters and radios to maintain communication.
Equipment Safety
Inspect cables daily. Check hydraulic lines. Test emergency stops. A broken cable or a failed hydraulic line can kill someone.
Communication
Communicate clearly between the operator and the ground crew. Use hand signals if radios fail. Have an emergency plan.
10. Final Inspection and Sign-Off
When the last pile is driven, your job is not over. You still need to pass inspection.
Reviewing Records
Go through your driving records. Make sure every pile reached bearing. Check that blow counts and set measurements meet specifications.
Correcting Problems
If any pile failed to reach bearing, you need to fix it. Sometimes you can drive a supplementary pile nearby. Sometimes you need to pull the failed pile and replace it.
Do not try to hide problems. They will come out during inspection. Deal with them honestly and directly, as any Ultimate Pile Project Guide would advise.
Getting Sign-Off
Bring in the inspector. Walk them through your records. Show them your load test results if you ran them. Answer their questions.
The inspector is looking for proof that your foundation meets specifications. Good documentation makes their job easier and gets you signed off faster.
11. Lessons from the Field
After doing this work for years, I have learned a few things worth sharing.
First, the planning stage is where most jobs are won or lost. Skip it and you will pay later.
Second, train your crew. An untrained crew makes mistakes. Mistakes cost time and money. A well-trained crew catches problems early and fixes them quickly.
Third, watch your equipment. Listen to the hammer. Check the cushions. Inspect the leads. A small problem ignored becomes a big problem later.
Fourth, respect the soil. It is the most unpredictable part of any job. Test it. Understand it. Adapt to it.
Fifth, know when to stop. Overdriving a pile ruins it. Underdriving a pile leaves the foundation weak. Use your blow count and set measurements to know when you are done. These are all core principles of the Ultimate Pile Project Guide.
12. Wrapping It Up
A successful pile job does not happen by accident. It takes planning, preparation, and attention to detail from start to finish.
Do your homework before you start. Choose the right equipment. Set up your site properly. Inspect your piles. Monitor your blow counts. Document everything. Follow safety rules. Know when to stop. To learn from others’ failures, see the 10 critical mistakes that ruin your pile project.
The difference between a smooth job and a disaster is usually just a few small decisions. Make the right ones using this Ultimate Pile Project Guide and your project will run smoothly. Make the wrong ones and you will be in trouble.
Every pile job teaches you something. Pay attention to the lessons. Apply them to the next job. That is how you get better over time.
Your reputation depends on the quality of your work. Do it right the first time. It is worth it. Keep this Ultimate Pile Project Guide handy for your next site.
Looking to round out your jobsite fleet? Beyond deep foundation work, many crews also need lifting and access equipment on the same site.
Explore the powerful TYPHON 3800lbs Tyrant 17 Diesel Mini Excavator with Kubota D902 Engine & 12 Attachments for safe, efficient operations alongside your foundation crew.
13. Our Business Partners
For more details on heavy machinery and to see our business partners at work, check out the video below:
One Comment